
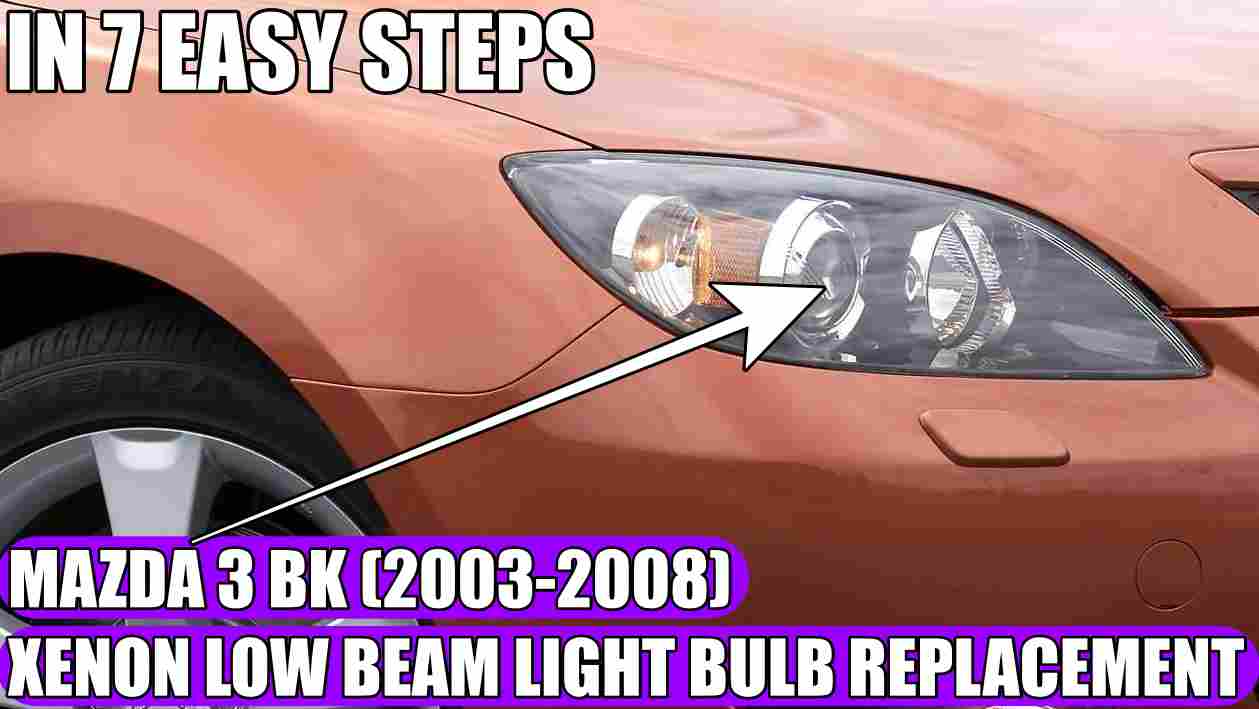
Mazda 3 BK (2003-2008) – How to Replace the D2S Xenon Low-Beam (Dipped Beam) Light Bulb
If you own a Mazda 3 BK manufactured between 2003 and 2008 and have noticed that the low-beam light has become dimmer, changed color, or one of the headlights no longer turns on, you may need to replace the xenon bulb. Although the task might seem complicated at first glance, you can perform the replacement at home, provided you have the right tools and follow the necessary safety precautions.
Find an Osram D2S Xenon bulb HERE: https://amzn.to/3U2bMz3
Find a Philips D2S Xenon bulb HERE: https://amzn.to/4kcWEcy
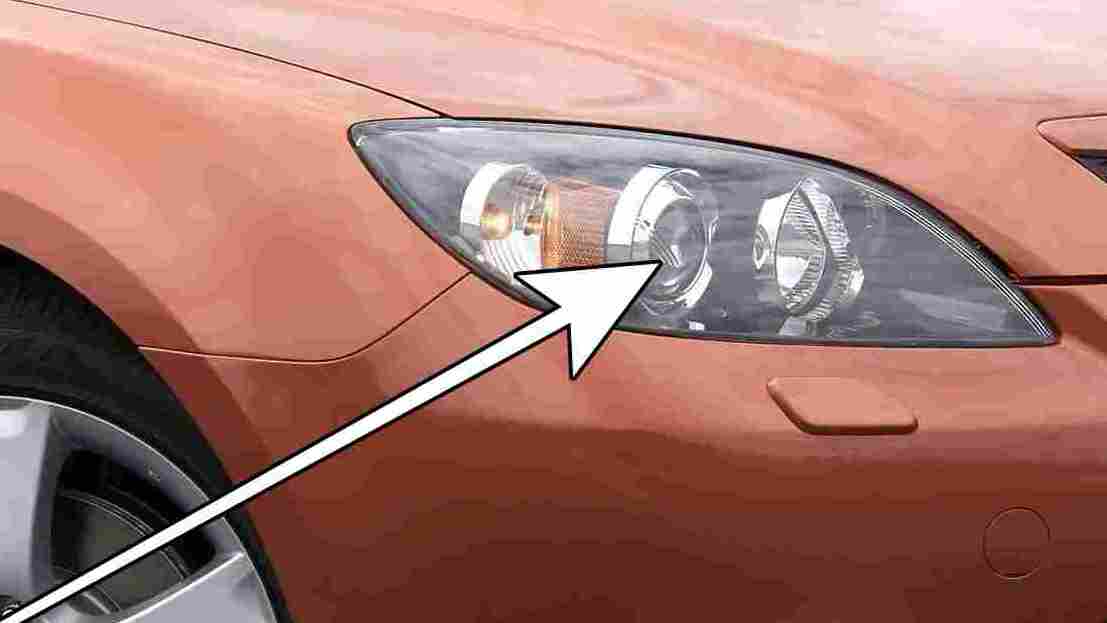
In this article, you will learn how to replace the D2S xenon low-beam bulb on a Mazda 3 BK, what to check before disassembly, the replacement process itself, and common mistakes to avoid.
What type of xenon bulb does the Mazda 3 BK (2003-2008) use?
Before starting the work, it is important to identify the exact type of bulb installed in your vehicle. The Mazda 3 BK was available in various trim levels, and the lighting system may differ depending on the model year, the market, and the specific headlight configuration.
For versions equipped with factory xenon headlights, the low-beam bulb is typically a D2S type; however, you should always verify compatibility by checking the vehicle owner’s manual, the markings on the headlight assembly, or the code on the existing bulb.
Do not purchase a bulb based solely on the car model and year of manufacture.
Always check the following:
– The type and code of the existing Xenon bulb
– The type of headlight installed on the vehicle
– The power rating and electrical specifications recommended by the manufacturer
– The color temperature, if you wish to maintain the original lighting appearance.
—To avoid color discrepancies between the headlights, it is recommended to use bulbs of the same brand, type, and color temperature.—
Why should a low-beam Xenon bulb be replaced?
Xenon bulb performance can change as they age. Sometimes, they do not burn out completely; instead, they may begin to emit less light or take on a different hue compared to the bulb in the opposite headlight.
The most common signs indicating a potential issue include:
– Dim light: the road is illuminated less effectively, even when the headlights are clean
– Color shift: the light takes on a pink, violet, or bluish tint, differing from its original appearance
– Intermittent operation: the bulb turns on and off for no apparent reason
– A headlight stops working: the cause could be the bulb itself, but it might also be the ballast (igniter), the wiring, or a power supply issue.
If installing a new bulb does not resolve the problem, the Xenon system should be inspected before replacing any other components.
What tools do you need to replace a Xenon bulb?
For this task, have the following items ready:
– A Xenon bulb compatible with your vehicle’s headlights
– Protective gloves
– A flashlight to help you see better behind the headlight assembly. – Refer to the vehicle’s owner’s manual to identify the correct procedure.
Access to the bulb within the engine compartment may be restricted. Depending on the specific version, you might need to remove certain covers or other components to reach the back of the headlight assembly.
Do not force plastic parts, and avoid removing the entire headlight assembly if the bulb can be accessed through its designated cover.
Before you begin, keep one crucial point in mind: the xenon system operates at very high voltages during ignition. Do not attempt to work on the bulb, ballast, or connectors while the system is powered. If you are unsure how to safely disconnect the system, consult an auto electrician.
Disconnect the battery according to the manufacturer’s recommended procedure, ensuring the system has fully shut down. Simply turning off the headlights does not guarantee that all high-voltage components are safe to handle.
1. Allow the headlights to cool down, then open the hood and locate the back of the headlight assembly.
You will see a round, black plastic cover. In this example, the right-hand headlight has been removed from the vehicle to clearly demonstrate how to replace the low-beam xenon bulb on a Mazda 3 BK (2003–2008).
Identify the protective cover for the low-beam bulb. Depending on the headlight version, access methods may vary, and the available working space might be quite limited.
If any components obstruct access, consult the vehicle’s technical manual before attempting to remove them.
2. Rotate the cap counter-clockwise and remove it
3. Press the two metal clips, move them to the sides, and then lift them up
4. Remove the Xenon bulb
Avoid touching the glass part with your fingers—oils from your skin can shorten the lifespan of the new bulb. If you do touch it, wipe it clean with a cloth.
5. Take note of the position of the old bulb and the retaining mechanism, as the new bulb must be installed in the exact same orientation.
Handle the bulb with care and avoid touching the glass with your fingers. If it becomes dirty, clean it only in accordance with the manufacturer’s instructions.
6. Secure the metal clips back into their fixed position.
7. Replace the plastic cover and close the hood.
Ensure that it is sealed tightly. An incorrectly installed cover may allow water to enter, which can cause the headlight to fog up or become damaged.
Once all components have been reinstalled and the system is back in operation according to the manufacturer’s procedure, check that the headlight illuminates correctly.
Compare the light from both headlights and look for any differences in color, intensity, or behavior. If the bulb flickers, fails to turn on, or switches off after a few moments, there may be an issue with the ballast, igniter, wiring, or power supply.
Also, check the alignment of the light beam. If the headlight has been removed, or if the beam appears to be misaligned, have the adjustment checked at a service center.
Is it recommended to replace both xenon bulbs?
If one xenon bulb has failed, you can replace just that specific bulb. However, if both bulbs are the same age, it is possible that the other one is also nearing the end of its service life. Replacing both bulbs at the same time offers several advantages:
– The light may have a more uniform color on both sides.
– It reduces the risk of the other bulb requiring replacement shortly thereafter.
– You can achieve more balanced illumination if both old bulbs have lost some of their performance.
– If the remaining bulb is still working well and its color is close to that of the new bulb, replacing just one unit may be sufficient.
What should you do if the new xenon bulb does not light up?
If you have installed a new bulb and the headlight does not work, do not automatically assume that the bulb is defective.
Check the following possibilities:
Incompatible bulb: the bulb code or type may not match the installed system.
Defective ballast: the ballast controls the power supply to the xenon system and can prevent the bulb from igniting.
Igniter issue: a fault in the ignition circuit can prevent the bulb from starting.
Damaged connections or wiring: loose contacts, corrosion, or damaged wires can cause intermittent operation.
Power supply issue: an electrical fault may affect the operation of one or both headlights. Do not attempt to manually check the ignition voltage of the xenon system, and do not power the bulb directly. Diagnosing high-voltage components must be performed using appropriate equipment and procedures.
Mistakes to avoid when changing a xenon bulb on a Mazda 3 BK:
To prevent damage to the headlight or operational issues, keep the following recommendations in mind:
- Do not work on the xenon system while it is powered.
- Do not touch the bulb glass with your fingers.
- Do not install a bulb simply because it physically fits into the socket.
- Do not force clips, covers, or connectors.
- Do not leave the headlight without its protective cover.
- Do not ignore significant differences in color or intensity between the headlights.
- Do not attempt to repair the ballast or the igniter without the necessary training and equipment. Following these recommendations helps prevent damage to components and ensures the lighting remains within proper operating parameters.
How much does it cost to replace a xenon bulb on a Mazda 3 BK?
The cost depends on the type of bulb, the manufacturer, and the service center’s labor rates. A bulb from a well-known brand may cost more than one from an obscure manufacturer; however, it is important to verify the product’s authenticity and compatibility.
Frequently asked questions about the xenon bulb for the Mazda 3 BK
Which xenon bulb is used for the 2003–2008 Mazda 3 BK?
The bulb type depends on the vehicle’s equipment and the headlight configuration. Some versions with factory-installed xenon lighting may use D2S bulbs, but you must verify the exact part code before making a purchase.
Can I replace the xenon bulb on a Mazda 3 BK myself?
In certain configurations, physical access may allow for bulb replacement without completely removing the headlight assembly. However, because xenon systems involve high voltages, this task should only be undertaken if you are able to follow the correct service procedure and safety precautions.
Why does a xenon bulb emit a pink or purple light?
A change in color can indicate that the bulb is aging, though this alone is not a definitive diagnosis. If the light turns pink or purple and its intensity decreases, it is advisable to have the bulb checked. Do I need to replace the ballast when changing a xenon bulb?
No. The ballast does not need to be replaced if it is functioning correctly. If a new bulb fails to light up, the system should be diagnosed before purchasing any further components.
Is it necessary to adjust the headlights after changing a bulb?
If the bulb was replaced without altering the position of the headlight, the alignment may not require any adjustment. However, if the light beam is incorrect, or if the headlight was removed, it is recommended to check the alignment.
Conclusion
Replacing the low-beam xenon bulb on a Mazda 3 BK (2003–2008) involves correctly identifying the bulb, accessing the rear of the headlight assembly, installing the new bulb properly, and verifying that it works after the procedure.
Most importantly, ensure you choose a compatible bulb and remain mindful of the electrical risks associated with a xenon system. If access is difficult, or if you suspect an issue with the ballast, a specialized service center can perform the replacement and diagnostics safely.
A functional and properly adjusted lighting system provides better visibility at night, contributing to your own safety and that of other road users.
If you have any suggestions about new tutorials, let us know in the comments section!
Check out more useful tutorials for Mazda:
How to replace Mazda 3 key fob in 4 simple steps!
How to remove Climate Control Unit (Air Con Heater) Panel on Mazda 3 in 13 steps!
How to remove / replace gear shift knob gaitor boot on Mazda 3 in 4 simple steps!
How to remove door panel (inner door) on Mazda 3 in 6 steps!