
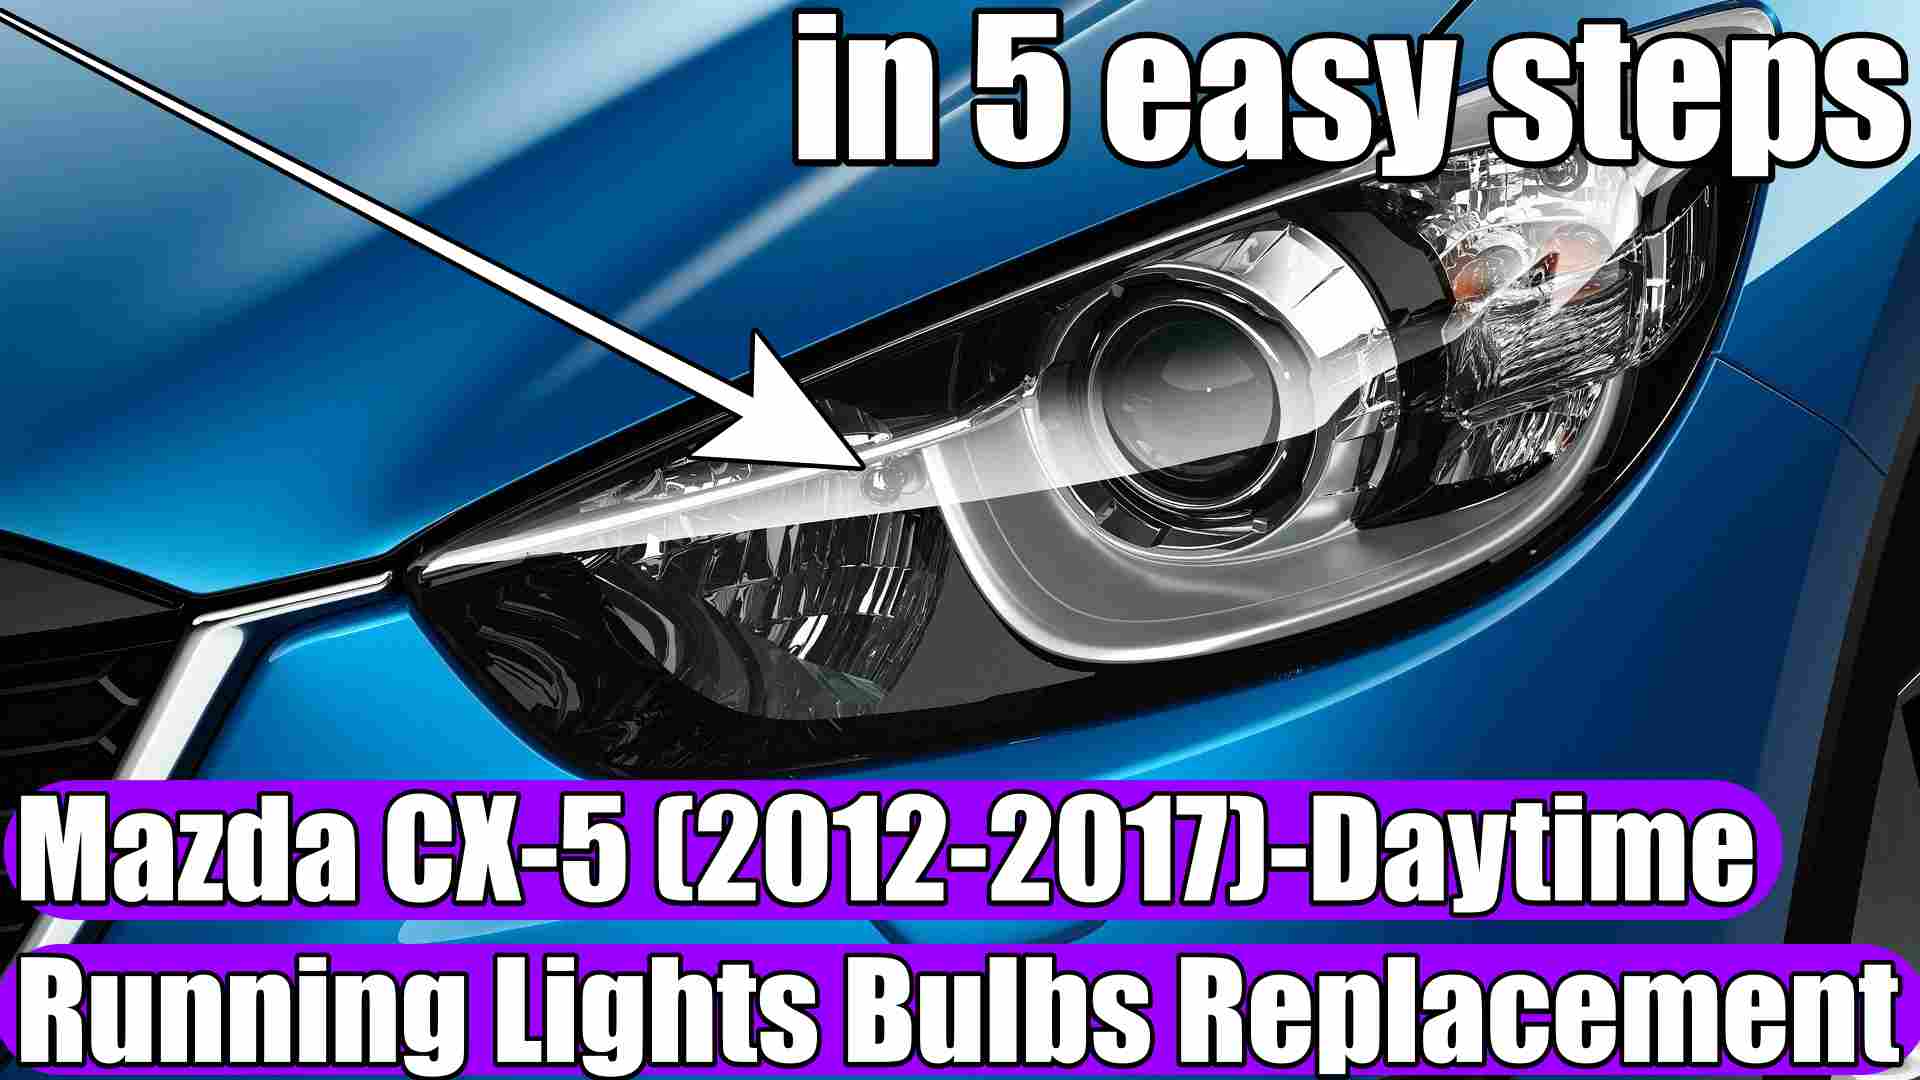
Mazda CX-5 (2013–2017) – How to Change or Replace the Daytime Running Lights (DRL) Bulb – P13W
How to Change or Replace the Daytime Running Lights Bulb on Mazda CX-5 (2013–2017) in 5 easy steps.
You can find P13W DRL bulb for Mazda CX-5 HERE: https://link.amazon/B02x6OevE
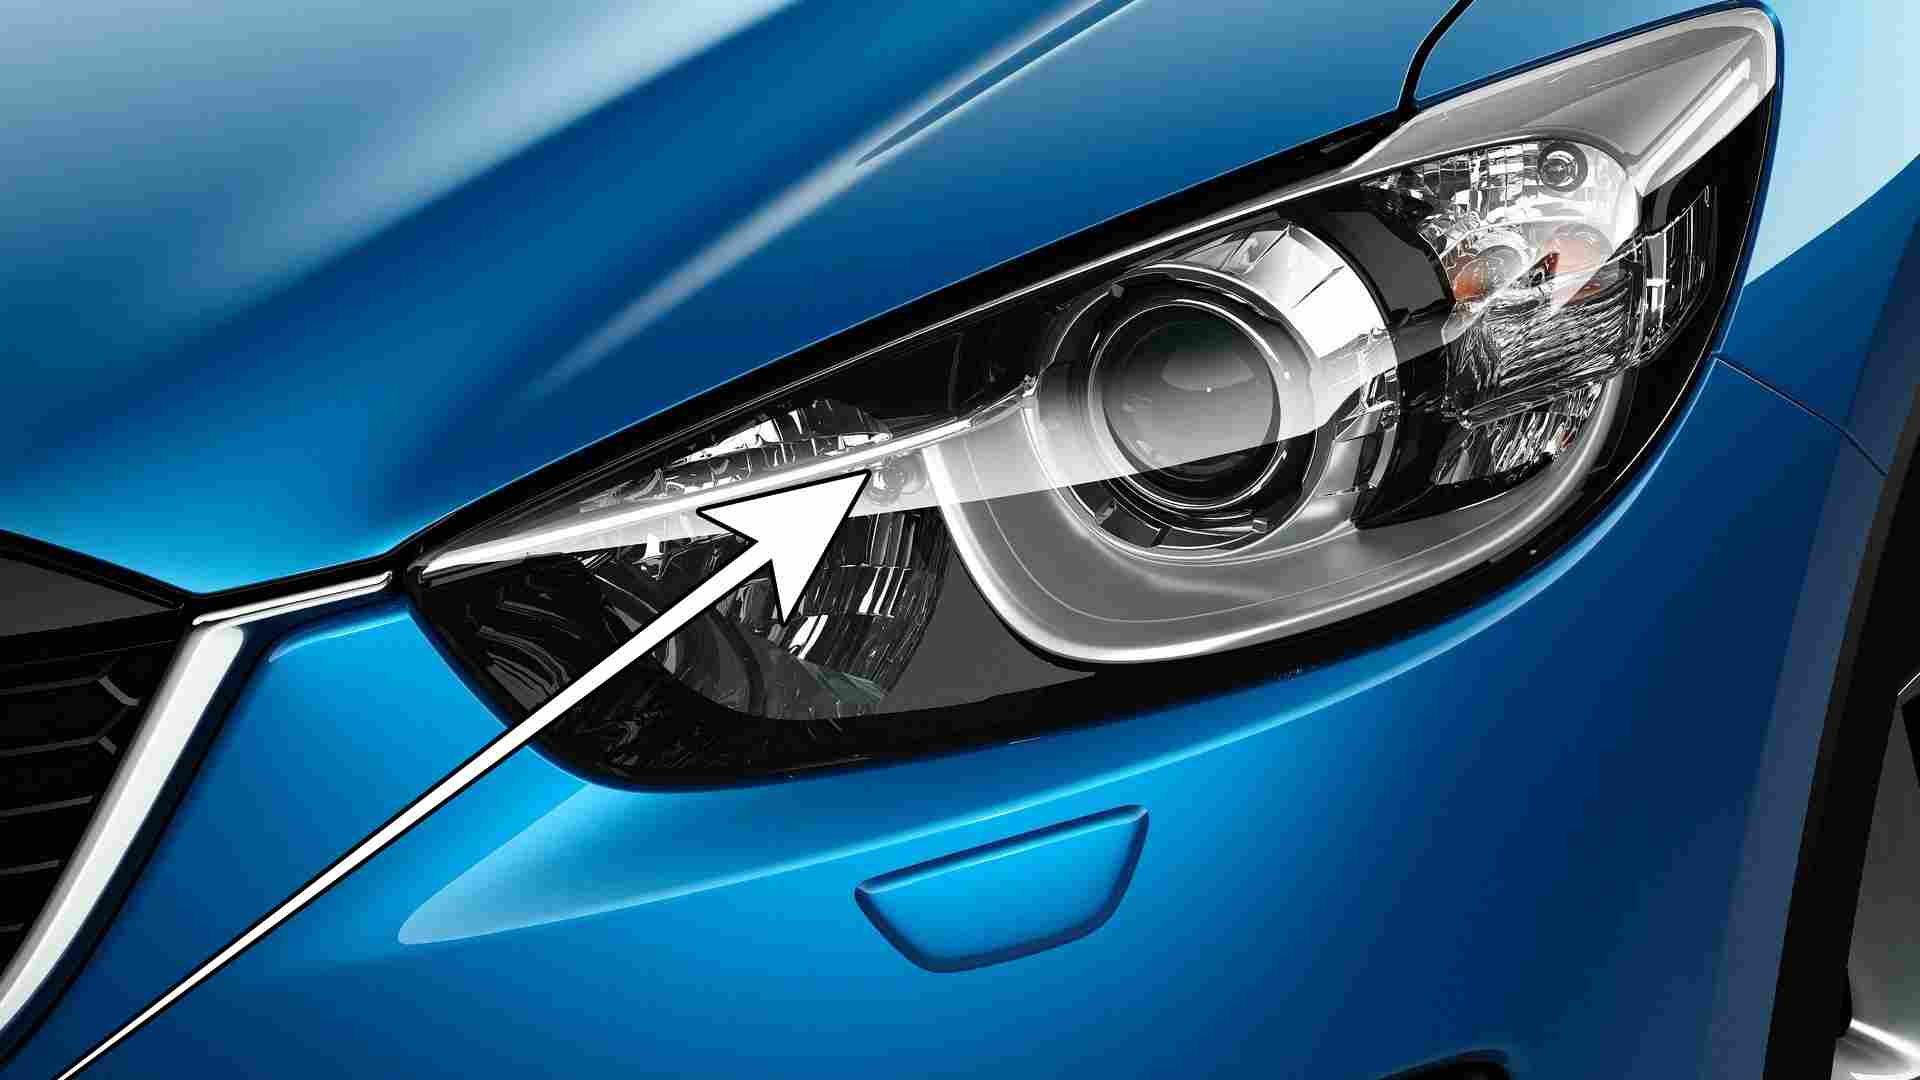
HERE you can find more Mazda CX-5 Accessories at the BEST PRICE: https://s.click.aliexpress.com/e/_oBJ6opy
Have you noticed that one of the daytime running light (DRL) bulbs on your Mazda CX-5 (2013–2017) has stopped working? There’s no need to rush to an authorized service center for an issue you can easily resolve yourself—in under 15 minutes—right in your own driveway or garage.
In this article, we will walk you through the step-by-step process of replacing the daytime running light (DRL) bulb on a Mazda CX-5 model produced between 2013 and 2017.
What you need to know before you begin
Before you start, ensure that:
- You have the correct bulb: The Mazda CX-5 (2013–2017 generation) typically uses P13W-type bulbs for the daytime running lights.
- Always check your vehicle’s owner’s manual to confirm compatibility.
– Safety first: Turn off the engine and remove the key from the ignition (or switch off the headlights).
Steps for replacing the daytime running light (DRL) bulb:
The process is quite straightforward, as there is generally good access to the back of the headlight assembly on most engine configurations.
1: Open the car’s hood and locate the daytime running light (DRL) bulb socket on the side where the bulb has burned out.
We are using the right headlight here to provide a better view of the area behind the headlight assembly.
2: Rotate the bulb socket counter-clockwise to unlock it, then pull it out.
3: Press the release tab on the electrical connector and pull gently to disconnect it from the bulb. If it’s stuck due to dust or debris, wiggle it back and forth until it comes free.
Do not touch the glass of the new bulb: Oils from your fingers can leave residue on the glass, which may cause the bulb to overheat and shorten its lifespan. Use a clean glove or a tissue when handling the new bulb.
4: Insert the new bulb into the socket.
5: Reinstall the bulb assembly into the headlight housing (make sure to align the locking tabs correctly) and rotate it clockwise to lock it into place.
Before closing the hood, turn on the headlights and test the daytime running lights to ensure the new bulb is working properly.
Did you manage to replace the bulb? If you run into any trouble, double-check that the bulb is seated perfectly straight in the socket. If the light still doesn’t turn on, check the corresponding fuse in the car’s fuse box.
Don’t forget to like and subscribe on YouTube channel, Tutoriale Auto!
If you have any suggestions about new tutorials, let us know in the comments section!
Don’t forget to Like & SUBSCRIBE our Youtube channel, Tutoriale Auto
Follow us on INSTAGRAM: https://www.instagram.com/service_tutorials/?hl=en
SUBSCRIBE our YOUTUBE channel: https://www.youtube.com/channel/UCwObVGIK_LGIYEoJxL6k-bg