
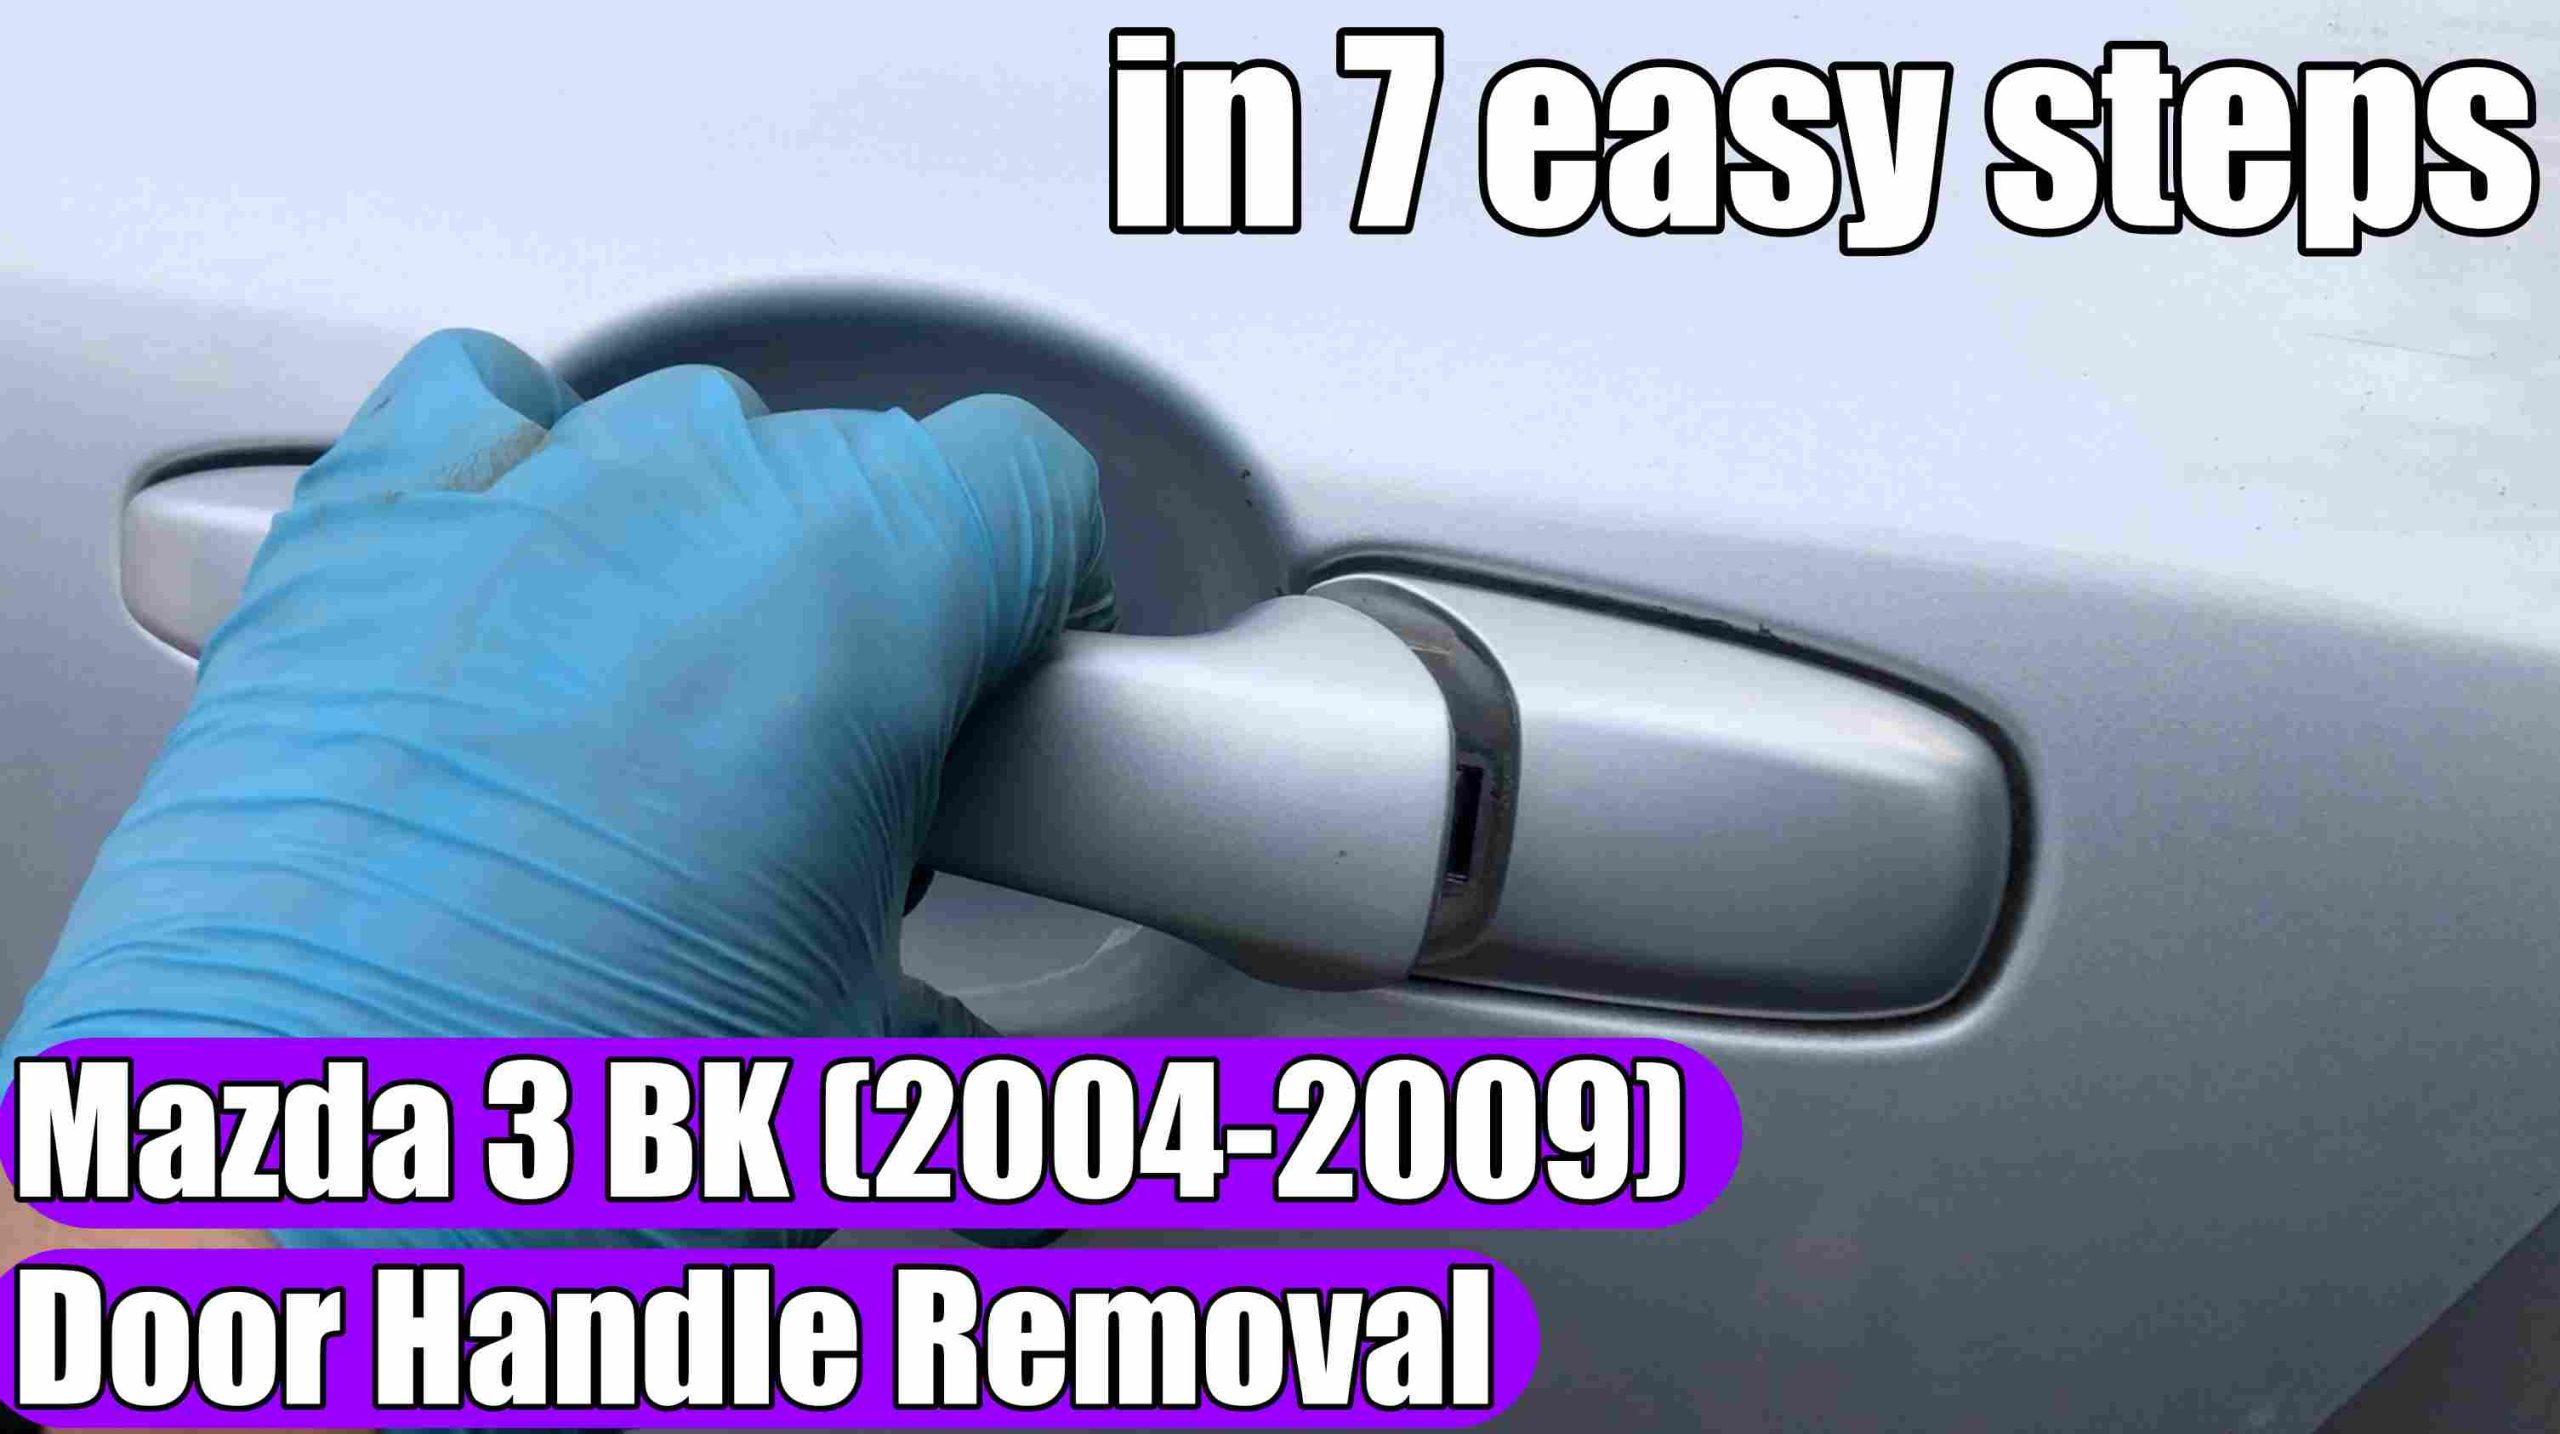
Mazda 3 BK (2003–2009) – How to replace / remove the exterior door handle IN 7 EASY STEPS
Mazda 3 BK (2003–2009) – How to replace / remove the exterior door handle IN 7 EASY STEPS.
HERE you can find a new exterior handle compatible with the Mazda 3 BK (2004–2008): https://amzn.to/4hIznO2
HERE you can find Mazda 3 BK Accessories at THE BEST PRICE: https://amzn.to/3THTmmT
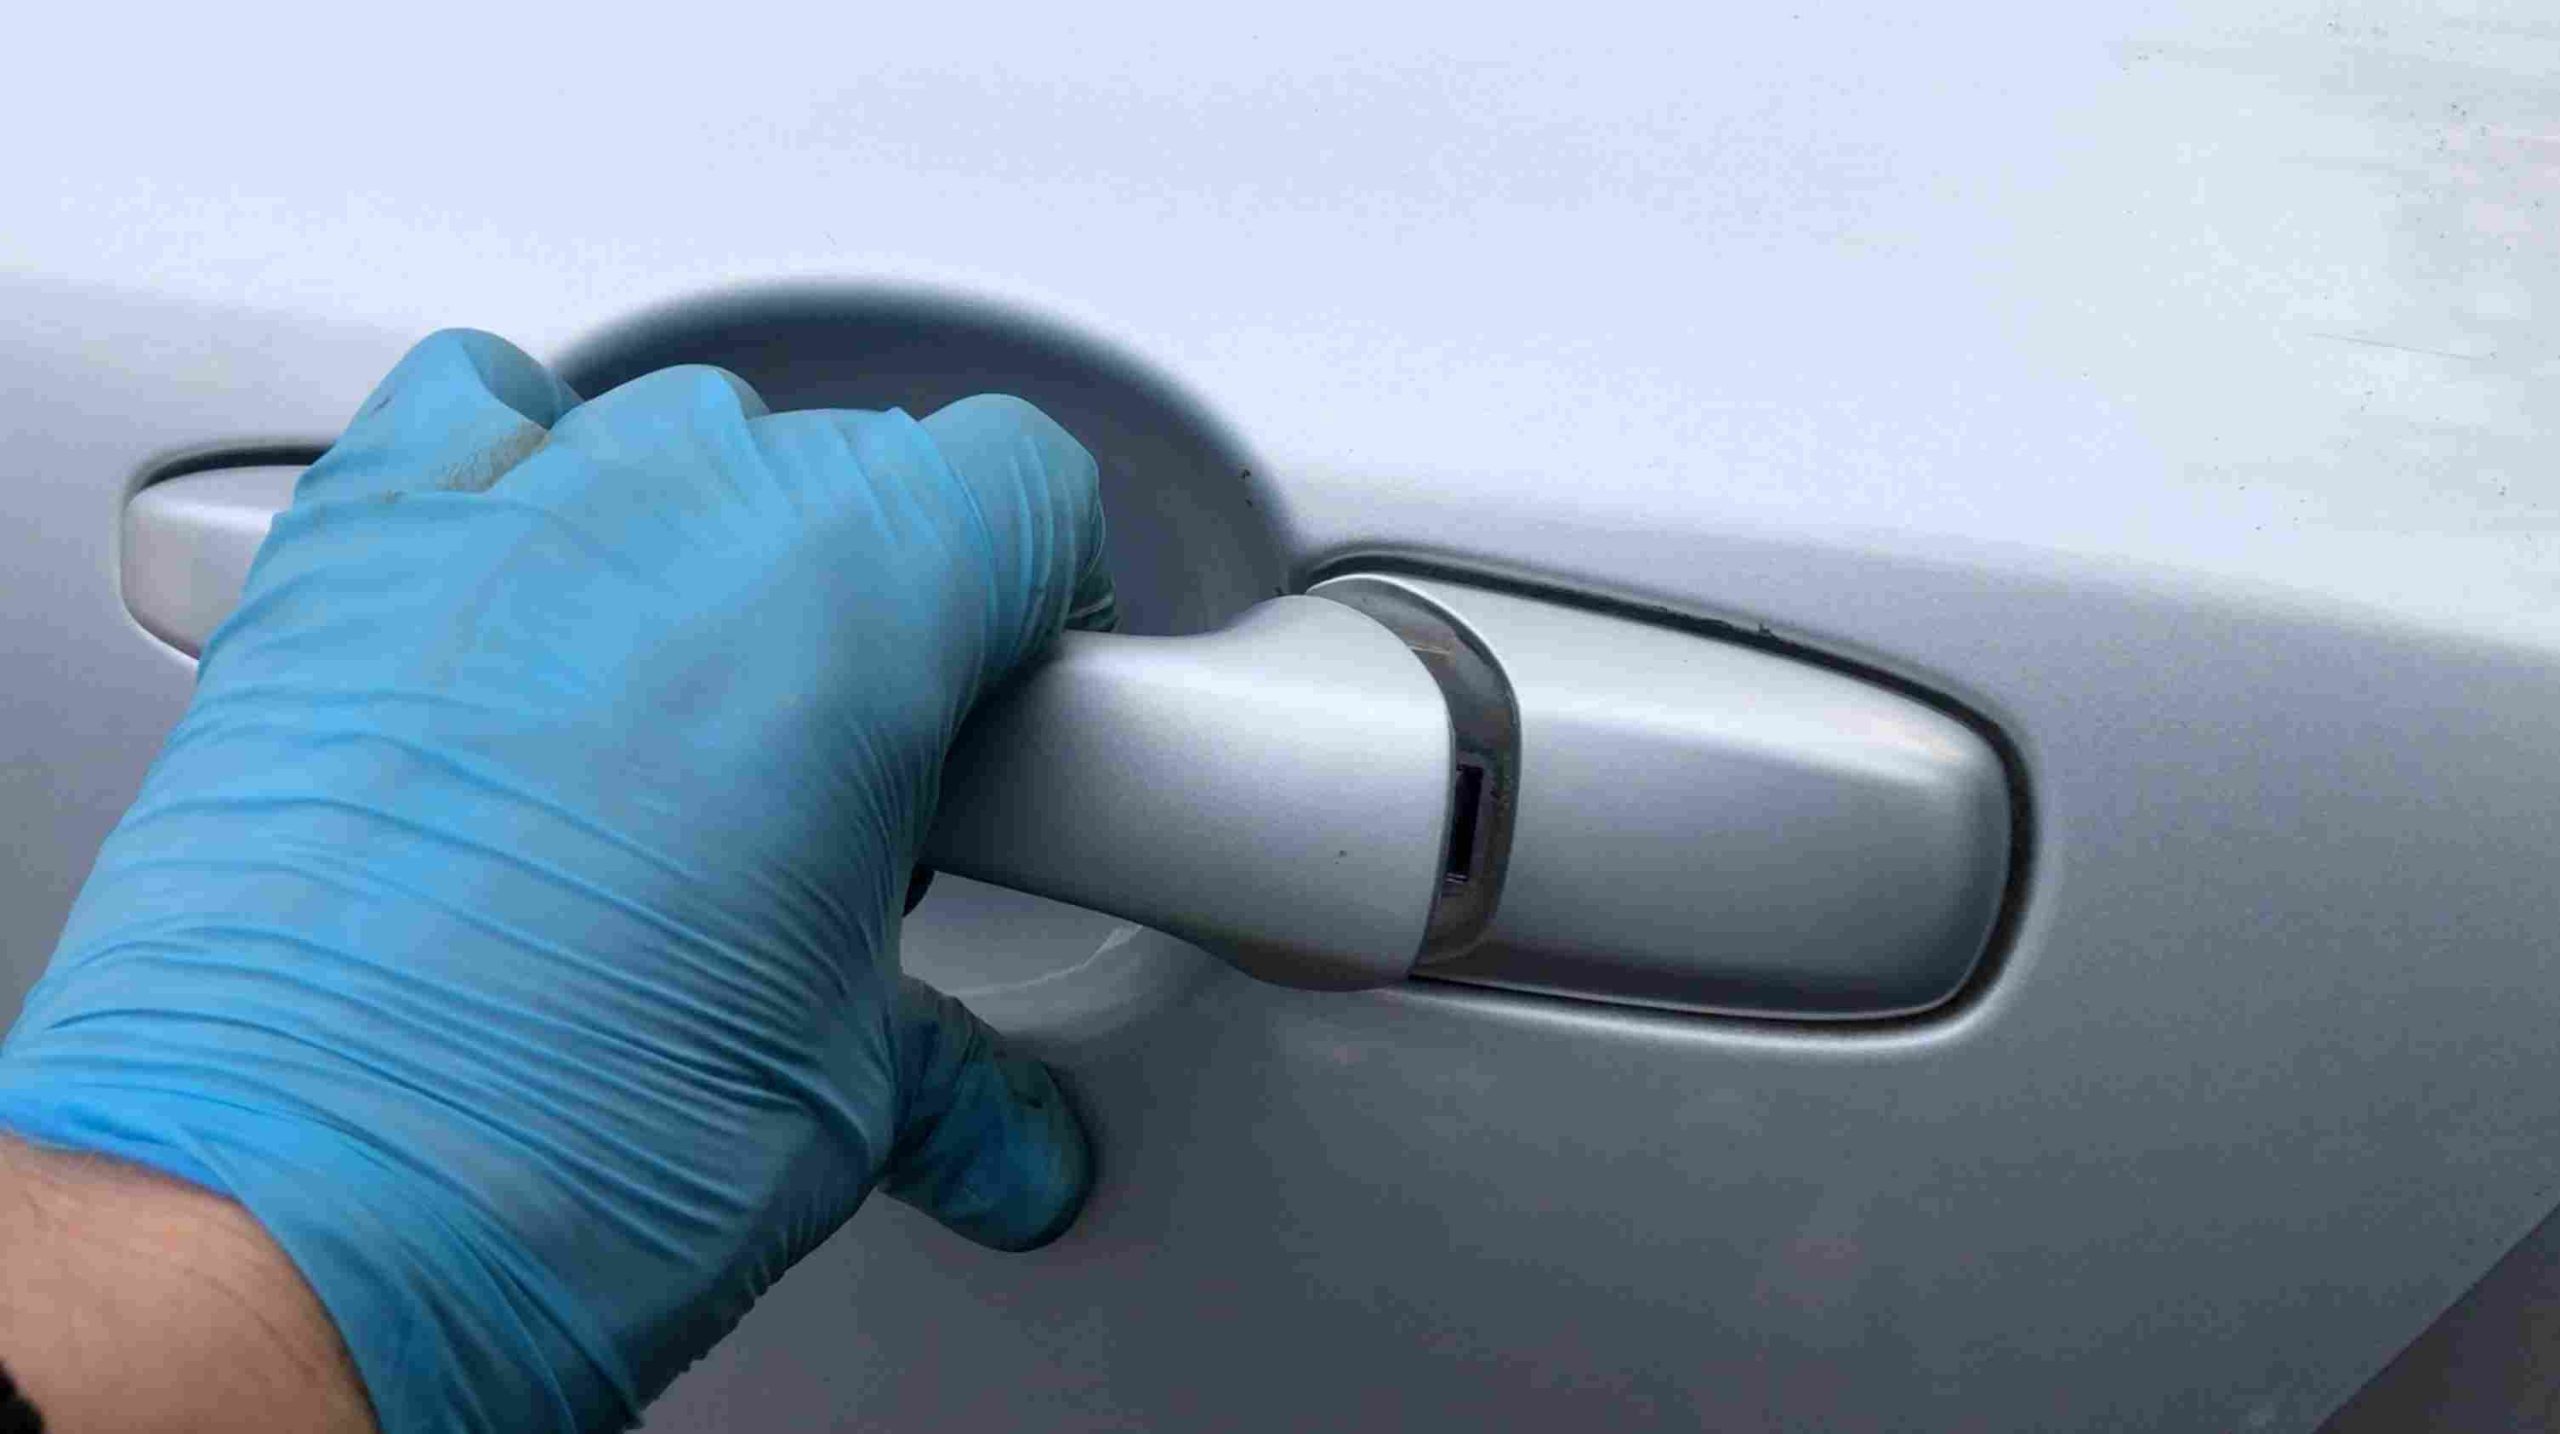
Replacing the exterior door handle on the Mazda 3 BK (produced between 2004 and 2008) is a task that can be performed at home with the right tools and a bit of care. The handle may break, jam, or become difficult to operate due to wear on the mechanism, control cable, or mounting hardware.
In this guide, you will learn how to remove the exterior handle from the Mazda 3 BK without damaging the door panel, rods, or clips.
Tools required
For this task, you will need:
- Phillips and flat-head screwdrivers: https://amzn.to/3uy4FMd
- 10 mm socket wrench: https://amzn.to/3tx4JkN
- Trim and clip removal tool: https://amzn.to/3Mj77RS
- Ratchet and extension ratchet: https://amzn.to/4iLdnDp
- A new exterior handle compatible with the Mazda 3 BK (2004–2008): https://amzn.to/4AtBaxV
It is also recommended to have a few spare door panel clips on hand, as some clips may break during removal.
Before removal
Park the vehicle on a level surface and turn off the ignition. If the door is equipped with central locking, power windows, or other electrical components, disconnect the negative battery terminal to prevent a short circuit.
How to remove the door panel on a Mazda 3 BK:
1. Remove the door panel (you can find the video tutorial at the link in the video description or in the first comment).
2. Raise the window, then remove the black foam piece behind the handle.
3. Unscrew the first internal bolt using a 10mm socket (you don’t need to remove the black panel; simply moving the black foam aside—at the spot indicated by the arrow—is sufficient).
4. Detach the metal rod connecting the handle to the latch mechanism.
5. Remove the rubber cover, then unscrew the other handle bolt using a 10mm socket.
6. Remove the handle from the outside.
7. Remove the other part of the exterior handle; push or pull the small retaining clips toward the rear of the car to release the handle.
Installing the new handle
Install the new handle by reversing the removal steps:
1. Insert the exterior handle into the door opening and tighten the bolts.
3. Connect the rod or cable to the handle.
4. Operate the handle several times and check that the latch opens without binding.
5. Test the central locking system as well, if equipped.
6. Reconnect the door panel cables and electrical connectors.
7. Reinstall the door panel and press on each clip until it snaps into place.
8. Tighten all screws and reinstall the trim pieces.
Checking the handle after installation
Before fully closing the door, perform a few checks:
- ensure the exterior handle returns to its original position on its own;
- ensure the door opens from both the outside and the inside;
- ensure the latch locks and unlocks correctly; central locking works;
- the electric window is not jammed;
- there are no loose parts or rattling sounds inside the door;
- the door panel is seated evenly.
Do not slam the door until you have verified that the mechanism is working correctly.
Common issues when replacing the handle
The new handle does not open the door
Most likely, the rod was not installed correctly, or the retaining clip is not in the right position. Check that the rod actuates the lock mechanism throughout the handle’s full range of motion.
The handle stays in the raised position
This may be caused by incorrect spring installation, a bent rod, or a seized locking mechanism. Clean and lightly lubricate the moving parts, ensuring no lubricant gets on the electrical components.
The door will not close
Do not use the vehicle until the issue is resolved. Check the alignment of the lock, rod, and handle. An incorrectly installed part can prevent the door from latching.
Noises coming from inside the door
Check that all screws, rods, and clips are properly tightened and secured. A loose part can cause vibrations while driving.
Useful tips:
- Do not pull on the door panel before removing all the screws.
- Use a plastic trim removal tool if possible.
- Compare the new handle with the old one before installation.
- Check whether the part is designed for the left or right door.
- Choose a handle compatible with the Mazda 3 BK (2004–2008) and the correct lock type. Lightly lubricate the mechanism if it operates stiffly.
- Do not force the rod or the clips, as they may become deformed.
Conclusion:
Replacing the exterior door handle on a 2004–2008 Mazda 3 BK is not a highly complex task, but it requires attention when removing the door panel and handling the rods and retaining clips. By following the steps above and testing the mechanism before fully reassembling the door, you can successfully replace the handle and avoid additional labor costs.
If you have any suggestions about new tutorials, let us know in the comments section!
Check out more useful tutorials for Mazda:
How to replace Mazda 3 key fob in 4 simple steps!
How to remove Climate Control Unit (Air Con Heater) Panel on Mazda 3 in 13 steps!
How to remove / replace gear shift knob gaitor boot on Mazda 3 in 4 simple steps!
How to remove door panel (inner door) on Mazda 3 in 6 steps!