
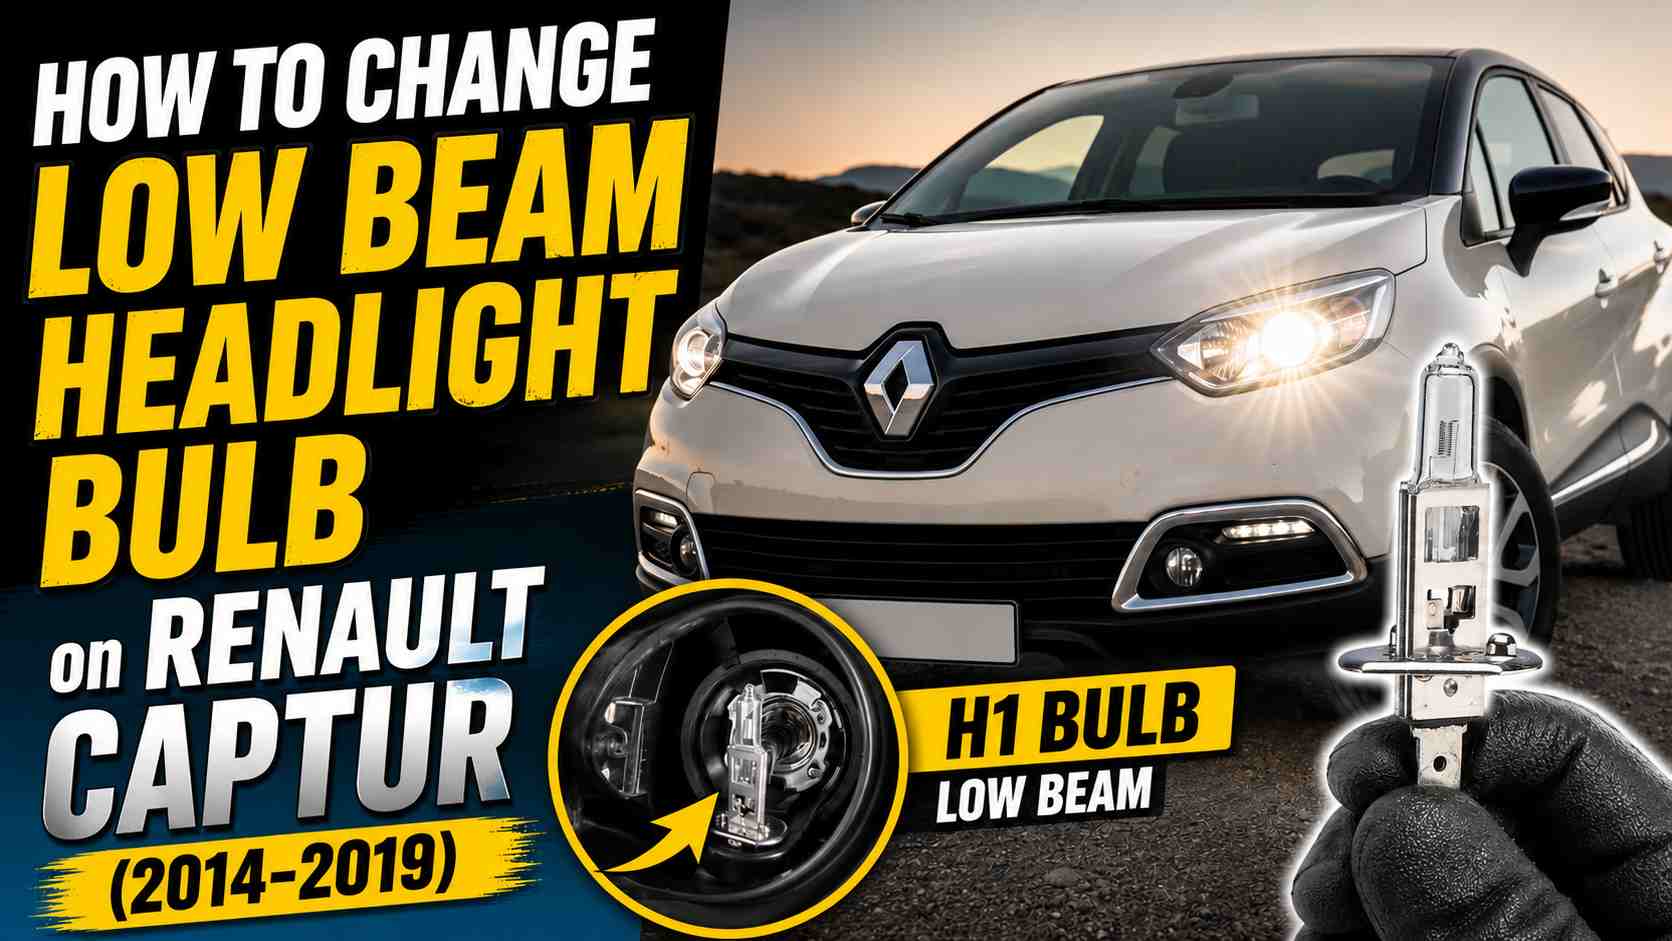
Renault Captur (2014-2019) – Low Beam Headlight Bulb (Dipped light) Replacement / Removal in 7 easy steps
Here is a short video on how to change or replace Low Beam Headlight Bulb on a Renault Captur (2014-2019) in 7 Easy Steps.
HERE you can find Low Beam Light Bulb for Renault Capture at THE BEST PRICE: https://amzn.to/3Qs9d7o
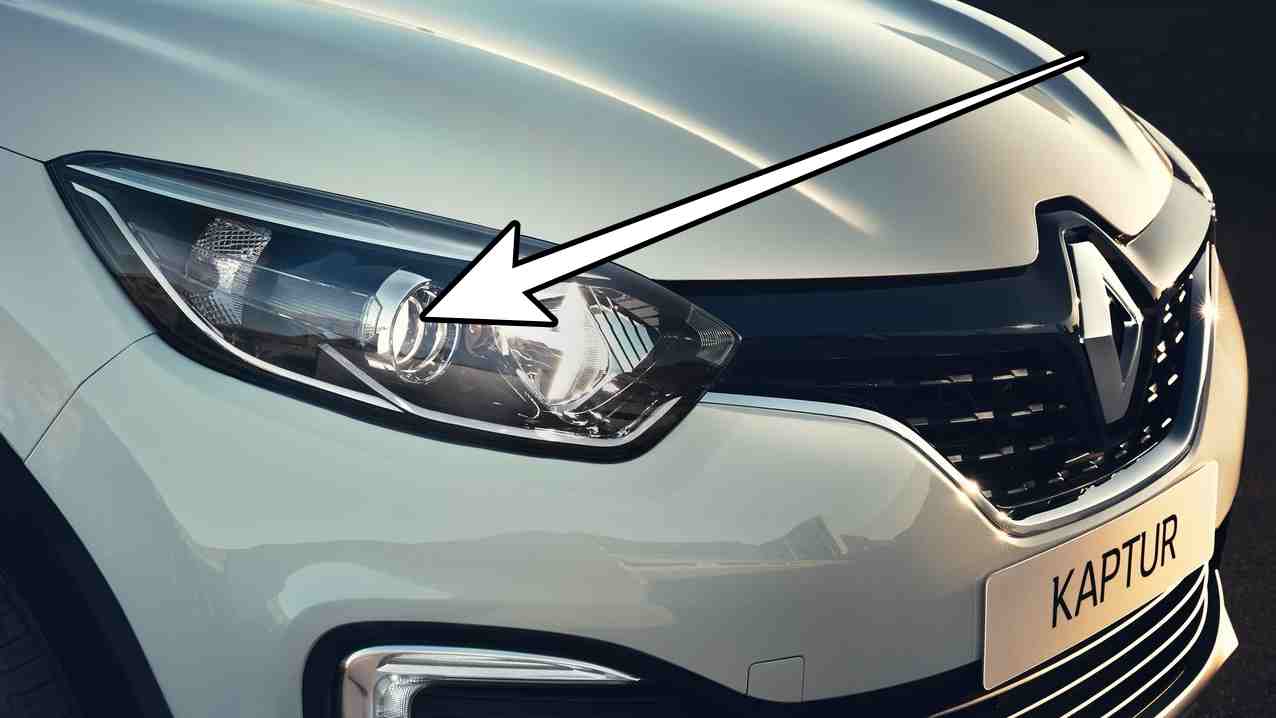
Changing a low beam headlight bulb on a Renault Captur (2014-2019) is a simple procedure that most Renault Captur owners can do without going to the car dealer. The procedure saves time and money, and by following a few safety rules and step-by-step instructions, you can quickly get back on the road safely. Below you will find the necessary materials, detailed steps and useful tips.
Materials and tools needed:
– New bulb (check the type: most Captur 2014–2019 models use H1 for low beam; confirm in the car manual or on the headlight cover).
– Protective gloves or a clean cloth (to avoid touching the bulb glass).
Safety precautions:
– Turn off the engine and remove the key from the ignition.
– Let the headlights cool down if they have been on.
Steps to follow:
Here we have a right headlight where you can see much better how to remove the light bulb and you don’t need to remove the headlight from the car.
On this label you will see the type of bulbs you need for the headlight: low beam (H1), high beam (H1), turn signal (PY21W) and parking light (W5W).
1. Open the hood and locate the back of the headlight assembly. You will see a round rubber cap.
2. Remove the rubber cap.
3. Disconnect the electrical connector from the bulb by gently pulling outwards.
4. Remove the metal clip: press inwards and move to the right to release the metal clip that holds the bulb in place.
5. Remove the burnt out bulb: pull it straight out. Avoid touching the glass part with your fingers — oil from your skin can shorten the life of the bulb. If you do touch it, wipe it off with a clean cloth or wear gloves.
You can find H1 Low Beam Light Bulb below in the video description!
6. Install the new bulb: insert it in the exact position, secure the metal clip and reconnect the electrical connector. Make sure the bulb is seated correctly and not tilted.
7. Put the rubber cover and close the hood.
Don’t forget to test the headlight: turn on the low beam to check that it works. If it doesn’t, check the sockets and the bulb.
Helpful Hints:
Always replace in pairs (both bulbs) for even brightness.
Do not touch the bulb glass with your fingers; use gloves or a clean cloth.
Estimated time: 10–30 minutes depending on access and experience.