
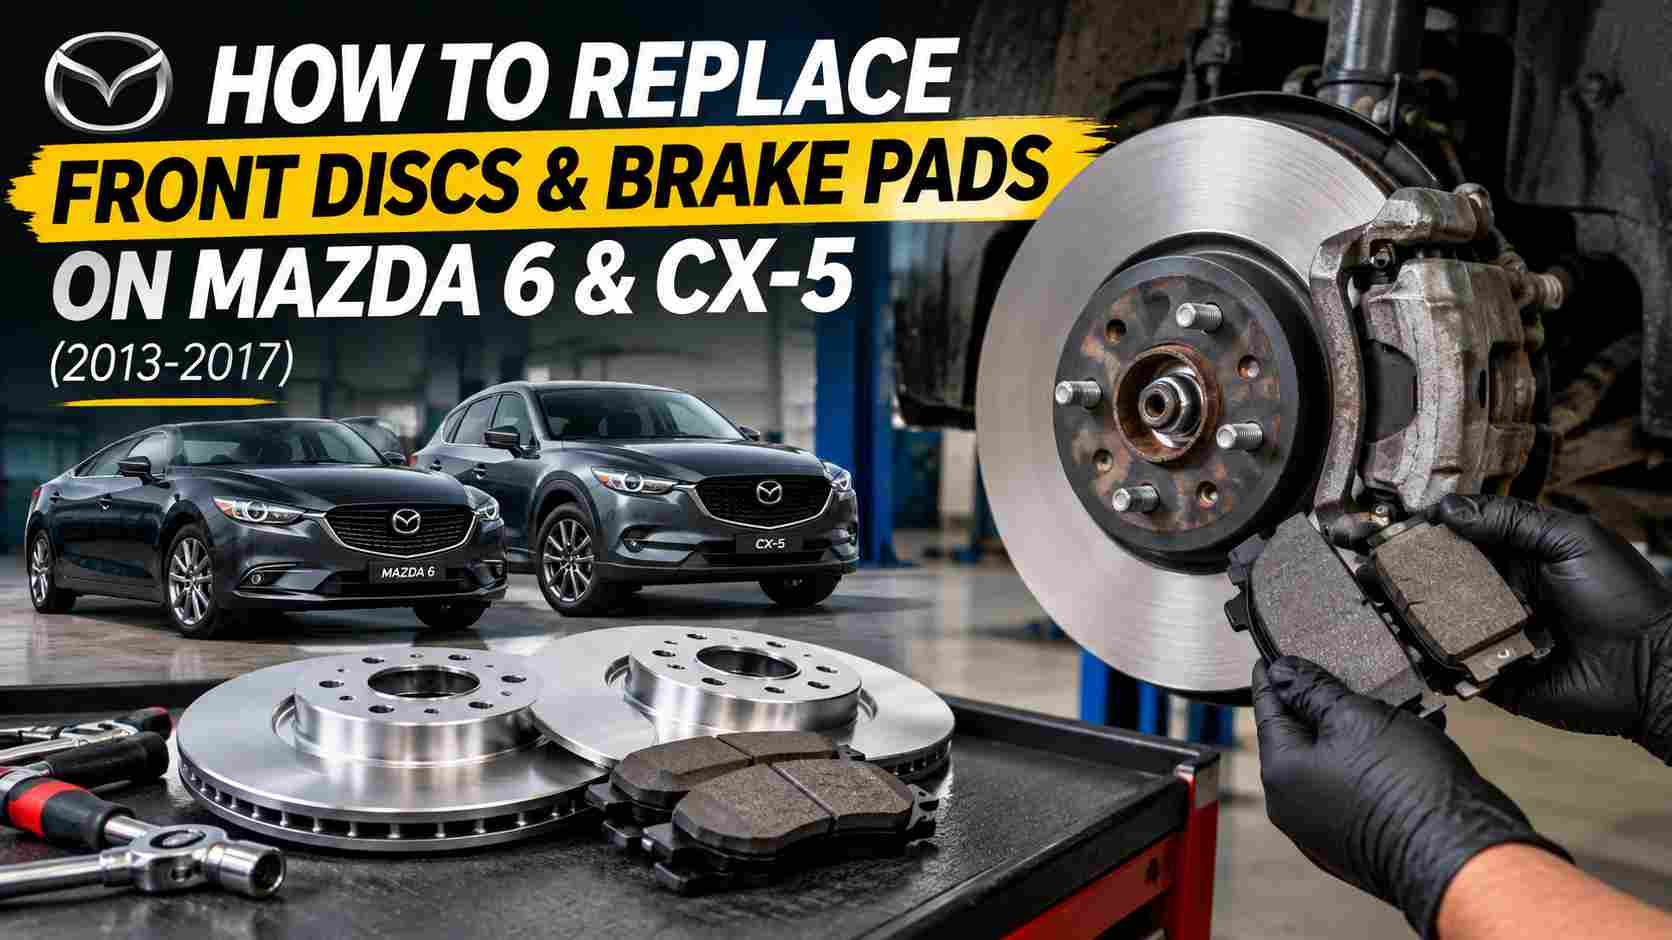
How to replace front brake discs and pads on a Mazda 6 & CX-5 (2013–2017)
How to replace front brake discs and pads on a Mazda 6 & CX-5 (2013–2017) in 11 easy steps.
Find a complete set of front and rear brake pads, discs, and sensors at a promotional price HERE: https://amzn.to/4rC61Eo
Tools and parts needed:
– Car lift or jack and jack stands (to support the vehicle): https://amzn.to/4dGRqSs
– 14 mm, 17 mm, and 21 mm sockets: https://amzn.to/4xV267c
– Torque wrench: https://amzn.to/4AIyWLf
– Flat-head screwdriver: https://amzn.to/4dcYxSq
– Brake cleaner: https://amzn.to/4e4Dzp6
– Wire brush and a clean rag: https://amzn.to/4z61xbG
– Hammer: https://amzn.to/4daboVE
– Anti-seize paste for brake discs and pads: https://amzn.to/4AMTYIS
– Special grease for caliper guide pins: https://amzn.to/3Vg9fl7
– Front Brake Kit for Mazda CX-5: https://amzn.to/4rC61Eo
– Brake fluid (check and top up/replace if necessary)
Estimated time: 20–30 minutes per front wheel (if experienced). 1 hour for both, including brake bleeding if necessary.
1. Lift the car using a lift or jack (secure it on jack stands) and remove the wheel using a 21 mm socket.
2. Remove the caliper guide bolts using a 14 mm socket.
3. Retract the caliper piston using a flat-blade screwdriver.
4. Remove the caliper and then take out the worn brake pads.
Do not let the caliper hang by the brake hose; hook it near the wheel arch or rest it on the suspension arm.
5. Remove the caliper bracket bolts using a 17 mm socket.
6. Remove the retaining clips and replace them with new ones (if are coming with the new pads) or clean the old ones—and their mounting points on the bracket—with a wire brush.
You can tap the disc with a hammer if it does not come off easily.
7. Remove the old brake disc and clean the wheel hub with a wire brush. You can spray brake cleaner onto the hub surface and then apply anti-squeal paste.
Apply brake cleaner spray to the retaining clips and their mounting points, then apply anti-squeal paste.
8. Install the new disc and secure the caliper bracket. Tighten the bolts to 110 Nm using a torque wrench.
9. Install the Brake Squeaker Tabs (brake sensors) and the old shims onto the new brake pads.
10. Install the new brake pads into the caliper and tighten the guide pins. You can apply special silicone grease to these guide pins. Tighten the guide pins to 39 Nm using a torque wrench.
11. Mount the wheel and tighten the bolts to 146 Nm using a torque wrench.
Don’t forget to pump the brake pedal a few times before driving off to bring the brake pads back into contact with the disc!
You can also check the brake fluid level; if it has dropped, top it up.
Break in the brakes: avoid sudden braking for the first 200–300 kilometers.
You can apply some anti-squeal paste onto the back of the brake pads.
If you have any suggestions about new tutorials, let us know in the comments section!
Don’t forget to Like & SUBSCRIBE our Youtube channel, Tutoriale Auto
Follow us on INSTAGRAM: https://www.instagram.com/service_tutorials/?hl=en
SUBSCRIBE our YOUTUBE channel: https://www.youtube.com/channel/UCwObVGIK_LGIYEoJxL6k-bg
If you enjoyed this video tutorial, make sure to give it a thumbs up and share it with your friends.