
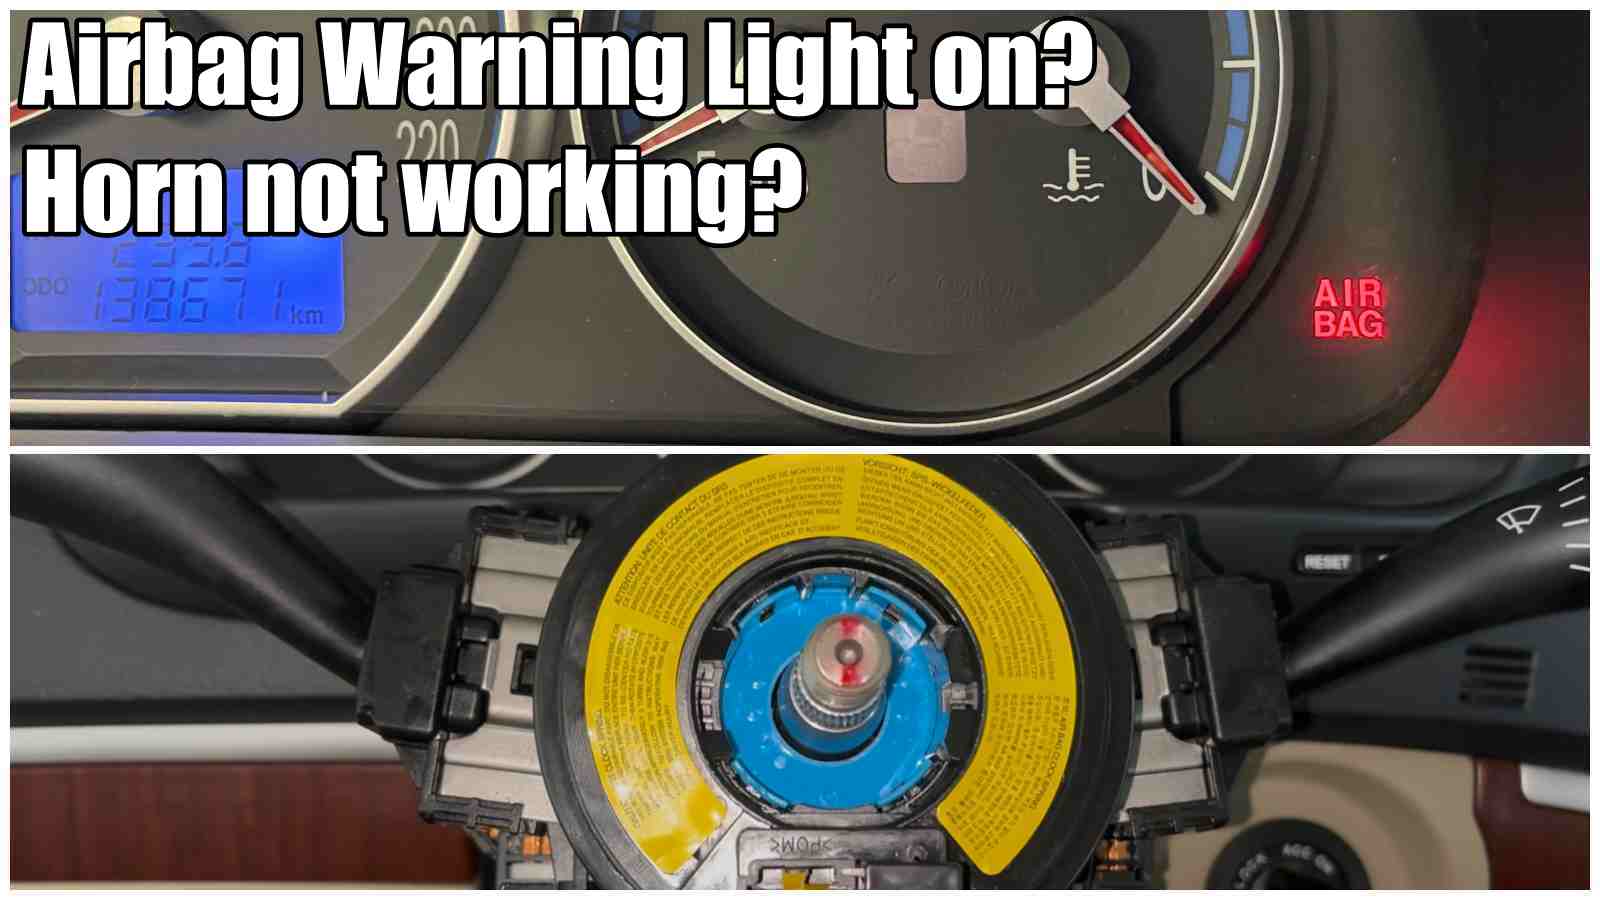
Hyundai Santa Fe 2, Kia Sorento (airbag light & horn not working) – Clock Spring (or slip ring squib) Removal / Replacement
Here is a video on how to remove or replace the clock spring (or slip ring squib) on Hyundai Santa Fe 2, Kia Sorento (2006-2012) in 14 Easy Steps.
HERE you can find Clock Spring or Slip Ring Squib for Hyundai & Kia: https://amzn.to/4r2KhAv
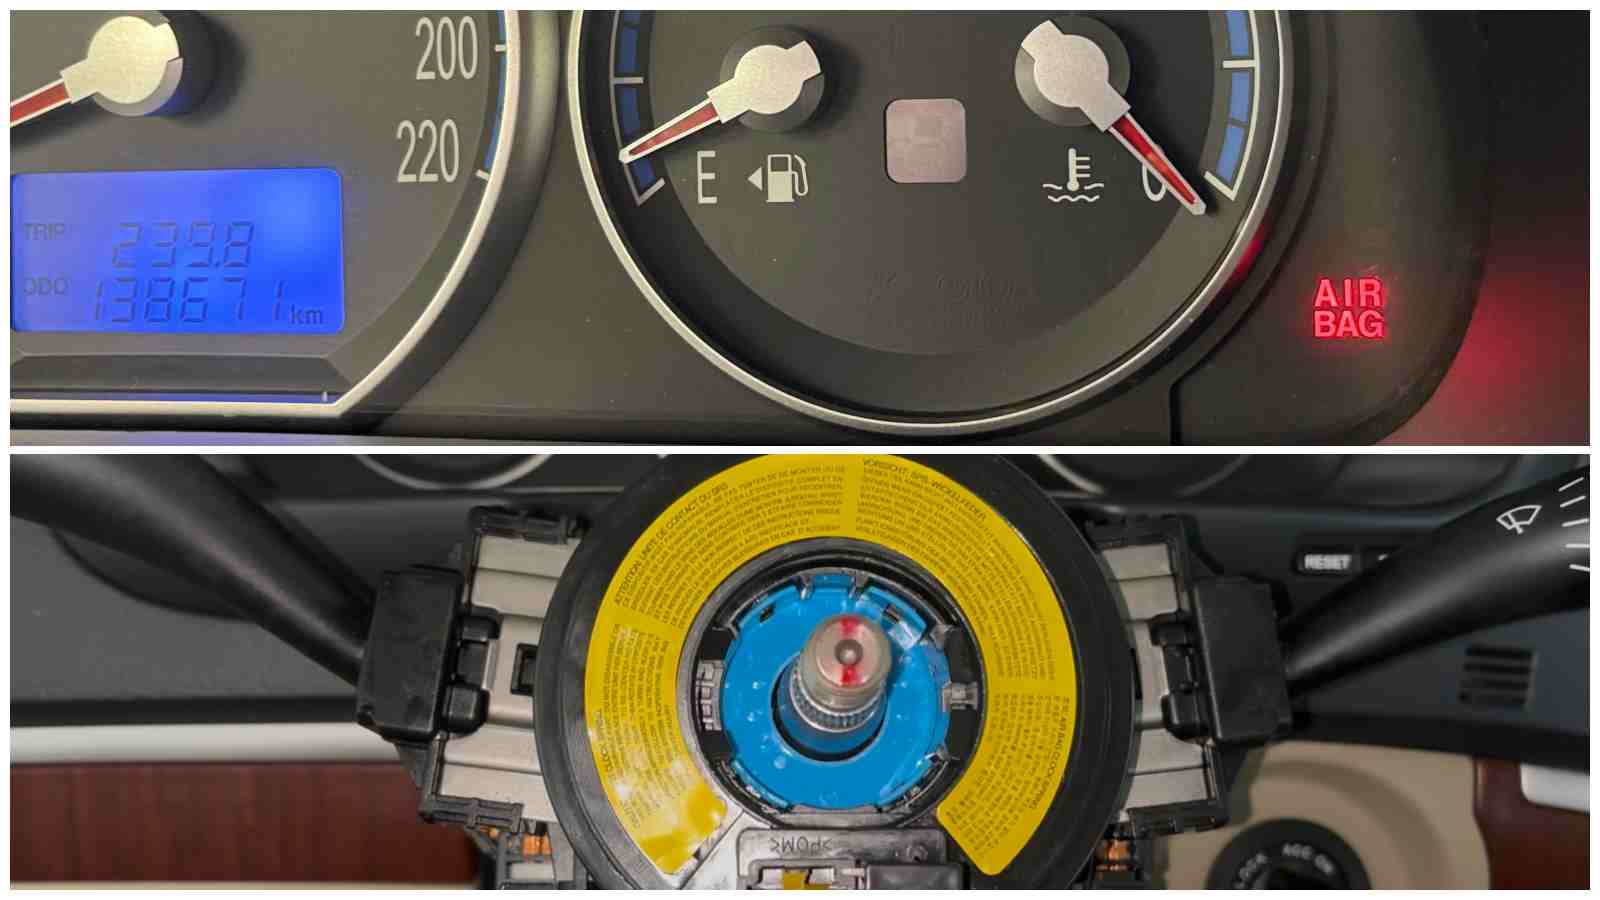
The clock spring (or slip ring squib) provides the electrical connection between the steering wheel and its systems (airbag, radio controls, cruise control, etc.). If the airbag displays an error, the steering wheel controls do not work or there is noise when turning, the cable is most likely defective. Follow the steps below to replace the clock spring airbag on your Hyundai Santa Fe II, Kia Sorento (2006–2012).
Tools and parts needed:
– 10 mm and 22 mm socket: https://amzn.to/4hgJZ5e
– T40 Torx: https://amzn.to/3J8AU1w
– Phillips screwdriver and a flat blade screwdriver: https://amzn.to/3Myq0DX
– Clock Spring compatible with Santa Fe 2 & Kia Sorento: https://amzn.to/4r2KhAv
Step 1: Disconnect the battery terminals when you need to deploy the airbag. After disconnecting, wait at least 10–15 minutes for the airbag capacitors to fully discharge. Store the airbag with the front (front) facing up, in a safe place. Attention, before installing the clock spring, make sure that the wheels and the steering wheel are straight!
Step 2: Unscrew the two bolts on the left and right side of the steering wheel using a Torx T40.
Be careful that the screws on the steering wheel cannot be removed.
Step 3: Remove the airbag slightly to the outside and disconnect the wire.
Step 4: Disconnect the connector from the airbag using a flat blade screwdriver.
First remove the yellow plastic on the outside and then carefully pull the connector outwards.
Step 5: Disconnect the white connector.
Step 6: Unscrew the steering wheel nut using a 22 mm socket, a ratchet and an extension ratchet.
Respect those marks on the steering wheel and the column when you reassemble the steering wheel.
Step 7: Remove the steering wheel. Don’t forget the washer that comes after the nut.
Step 8: Unscrew the 5 bolts from the plastic caps on the steering wheel axle using a Phillips screwdriver.
Two bolts are on the top plastic and 3 bolts are attached to the plastic below.
Step 9: Remove the two parts and then unscrew the 3 plugs from the clock spring.
On the yellow plug, first press the clip, then pull the clip back to remove the plug.
Compare the two clock springs to see if they are the same, then look at the clamps on the back to see how the clock spring is attached to the steering wheel column.
Step 10: Remove the clock spring using a flat blade screwdriver.
Step 11: Move the electronic part from the old clock spring to the new one using a flat blade screwdriver.
Step 12: Install the new clock spring on the steering wheel column and connect its connectors.
The yellow connector is installed by pushing it towards the end and then use a flat blade screwdriver to push the clip back in place.
Step 13: Reinstall the plastic parts on the steering wheel column and the other parts that follow (the steering wheel and the airbag).
Step 14: Remove that yellow clip from the clock spring before installing the steering wheel
Respect the marks on the steering wheel and the steering wheel column when installing the steering wheel back in place.
Block the steering wheel so that you can tighten the nut back in place.
The steering wheel is usually tightened between 40-50 Nm, but it is best to check the exact value for your car model.
After connecting the terminals to the battery, turn on the ignition and check if the Airbag warning light has gone out, the steering wheel controls work and the steering wheel turns smoothly and without noise.
If the Airbag warning light remains on the dashboard, scan it with a diagnostic tool and clear the error.
Conclusion
Replacing the steering wheel clock spring on the Hyundai Santa Fe II & Kia Sorento 2 (2006–2012) is a technical procedure, but it can be done with the right tools and following the SRS safety rules. If you do not feel comfortable working with the airbag, take the car to an authorized service.